Pay in installments of $7.37 with
 ,
,
 and
and

Shipping Estimate
USA
- USA
- CAN
- USA
- CAN
Ships within 48 hours · Estimated delivery Aug 9 - Aug 14
 Promo Codes Available:
For Your Every Summer RSVP, with Code: SUMMER15
Description
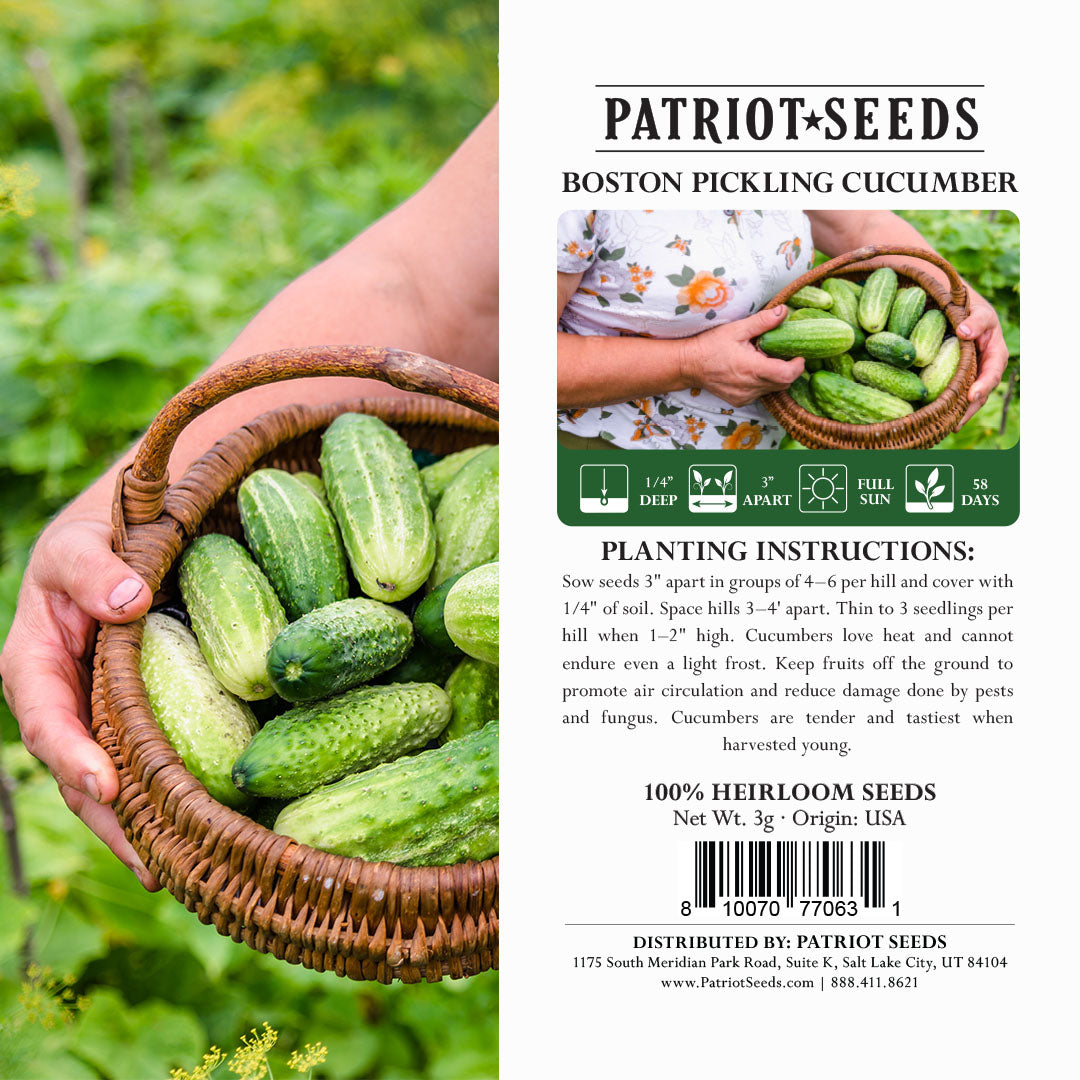
planting boston pickling cucumber seeds Heirloom Boston Pickling Cucumber Seeds | Grow Boston Pickling CucumbersHeirloom Boston Pickling Cucumber (3g) Produces heavy and continual yields of fruits measuring 3 to 6 inches, perfect for pickling. The dark green, blunt ended cucumbers can also be used in salads! The average time to maturity is 57 days. Heirloom Boston Pickling Cucumber Planting Instructions Cucumbers are very sensitive to cold. They need warm soil and air, whether direct seeded or transplanted. Don't rush to plant too early. Seeds will not
Heirloom Boston Pickling Cucumber (3g)
Produces heavy and continual yields of fruits measuring 3 to 6 inches, perfect for pickling.
The dark green, blunt-ended cucumbers can also be used in salads! The average time to maturity is 57 days.
Heirloom Boston Pickling Cucumber Planting Instructions
- Cucumbers are very sensitive to cold. They need warm soil and air, whether direct seeded or transplanted.
- Don't rush to plant too early. Seeds will not germinate if soil temperature is below 50°F, and germinate only slowly at 68°F.
- Direct seed 1 to 1 1/2 inches deep, either in rows (2 inches apart in rows 5 to 6 feet apart) or in hills (3 to 6 seeds per hill, hills spaced 3 to 5 feet apart).
- Thin to 8 to 15 inches apart in rows or 2 to 3 plants per hill. Snip off plants when thinning to avoid disturbing the roots of nearby plants.
- For early crops, use black plastic mulch and row covers or other protection to speed warming and protect plants.
Direct Seed into Holes in Plastic
Cucumbers seeded into black plastic usually produce larger yields, as well as earlier ones. For extra early crops, start plants inside 3 to 5 weeks before transplanting.
Sow 3 seeds per pot in 2-inch pots. Thin to 1 or 2 plants per pot. Grow above 70°F during the day and above 60°F at night.
Be careful when hardening-off plants not to expose them to cold temperatures. Plants with 1 or 2 true leaves transplant best.
Transplant into black plastic mulch or warm garden soil after danger of frost has passed and weather has settled. Be careful not to damage roots when transplanting.
If using peat pots, make sure they are saturated before transplanting and completely buried. If using row covers, remove when flowers begin to blossom to assure good pollination.
For a continuous harvest, make successive plantings every 2 to 3 weeks until about 3 months before the first fall frost date. About 1 month before first frost, start pinching off new flowers so plants channel energy into ripening existing fruit.
Most cucumbers have both male and female flowers. The male flowers blossom first and produce pollen, but no fruit. Cucumbers are heavy feeders and require fertile soil, nitrogen fertilizer, and/or additions of high-N organic matter sources. Pale, yellowish leaves indicate nitrogen deficiency. Leaf bronzing is a sign of potassium deficiency.
To reduce pest and disease pressure, do not plant cucumbers where you've grown them in the last 2 years.
Heirloom Boston Pickling Cucumber Harvesting Instructions
Generally the time to harvest cucumbers is approximately 60 to 70 days from planting to harvest.
Cucumbers can be picked at any time there is fruit, depending on the cucumber variety and use of the fruit. Cucumbers should be picked early in the morning and refrigerated immediately.
The larger a cucumber gets, the more of its flavor is lost, becoming bitter and unpalatable. Cucumbers that have turned yellow are past their peak.
Once the first cucumbers are ready to be harvested, cut the vine about a 1/2 inch above the fruit. Harvest all of the vegetables before maturity to ensure quality fruits and higher yields.
During harvest time, cucumbers should be picked at least every other day, with daily harvesting being ideal.
Saving Seeds
Slice fruit lengthwise and scrape seeds out with spoon. Allow seeds and jelly-like liquid to sit in jar at room temperature for 3 or 4 days. Fungus will start to form on top. Stir daily.
Jelly will dissolve and good seeds will sink to bottom while remaining debris and immature seeds can be rinsed away. Spread seeds on a paper towel or screen until dry.
Shipping Notes
- Free Standard Shipping on $100+ Orders to the USA.
- Except Preorder products are shipped in 48 hours.
- Delivery to the USA:
- Standard Shipping : 3-10 business days
- If time is of the essence, please consider selecting expedited delivery for faster service.
Exchange/Return Notes
- We offer a 30-day return/exchange service after receiving.
- Final sale items are not eligible for returns or exchanges.
- To process your return/exchange, please contact us at [email protected]
- Please click here for more details>>> Return & Exchange Policy