Pay in installments of $6.65 with
 ,
,
 and
and

Shipping Estimate
USA
- USA
- CAN
- USA
- CAN
Ships within 48 hours · Estimated delivery Jul 24 - Jul 29
 Promo Codes Available:
For Your Every Summer RSVP, with Code: SUMMER15
Description
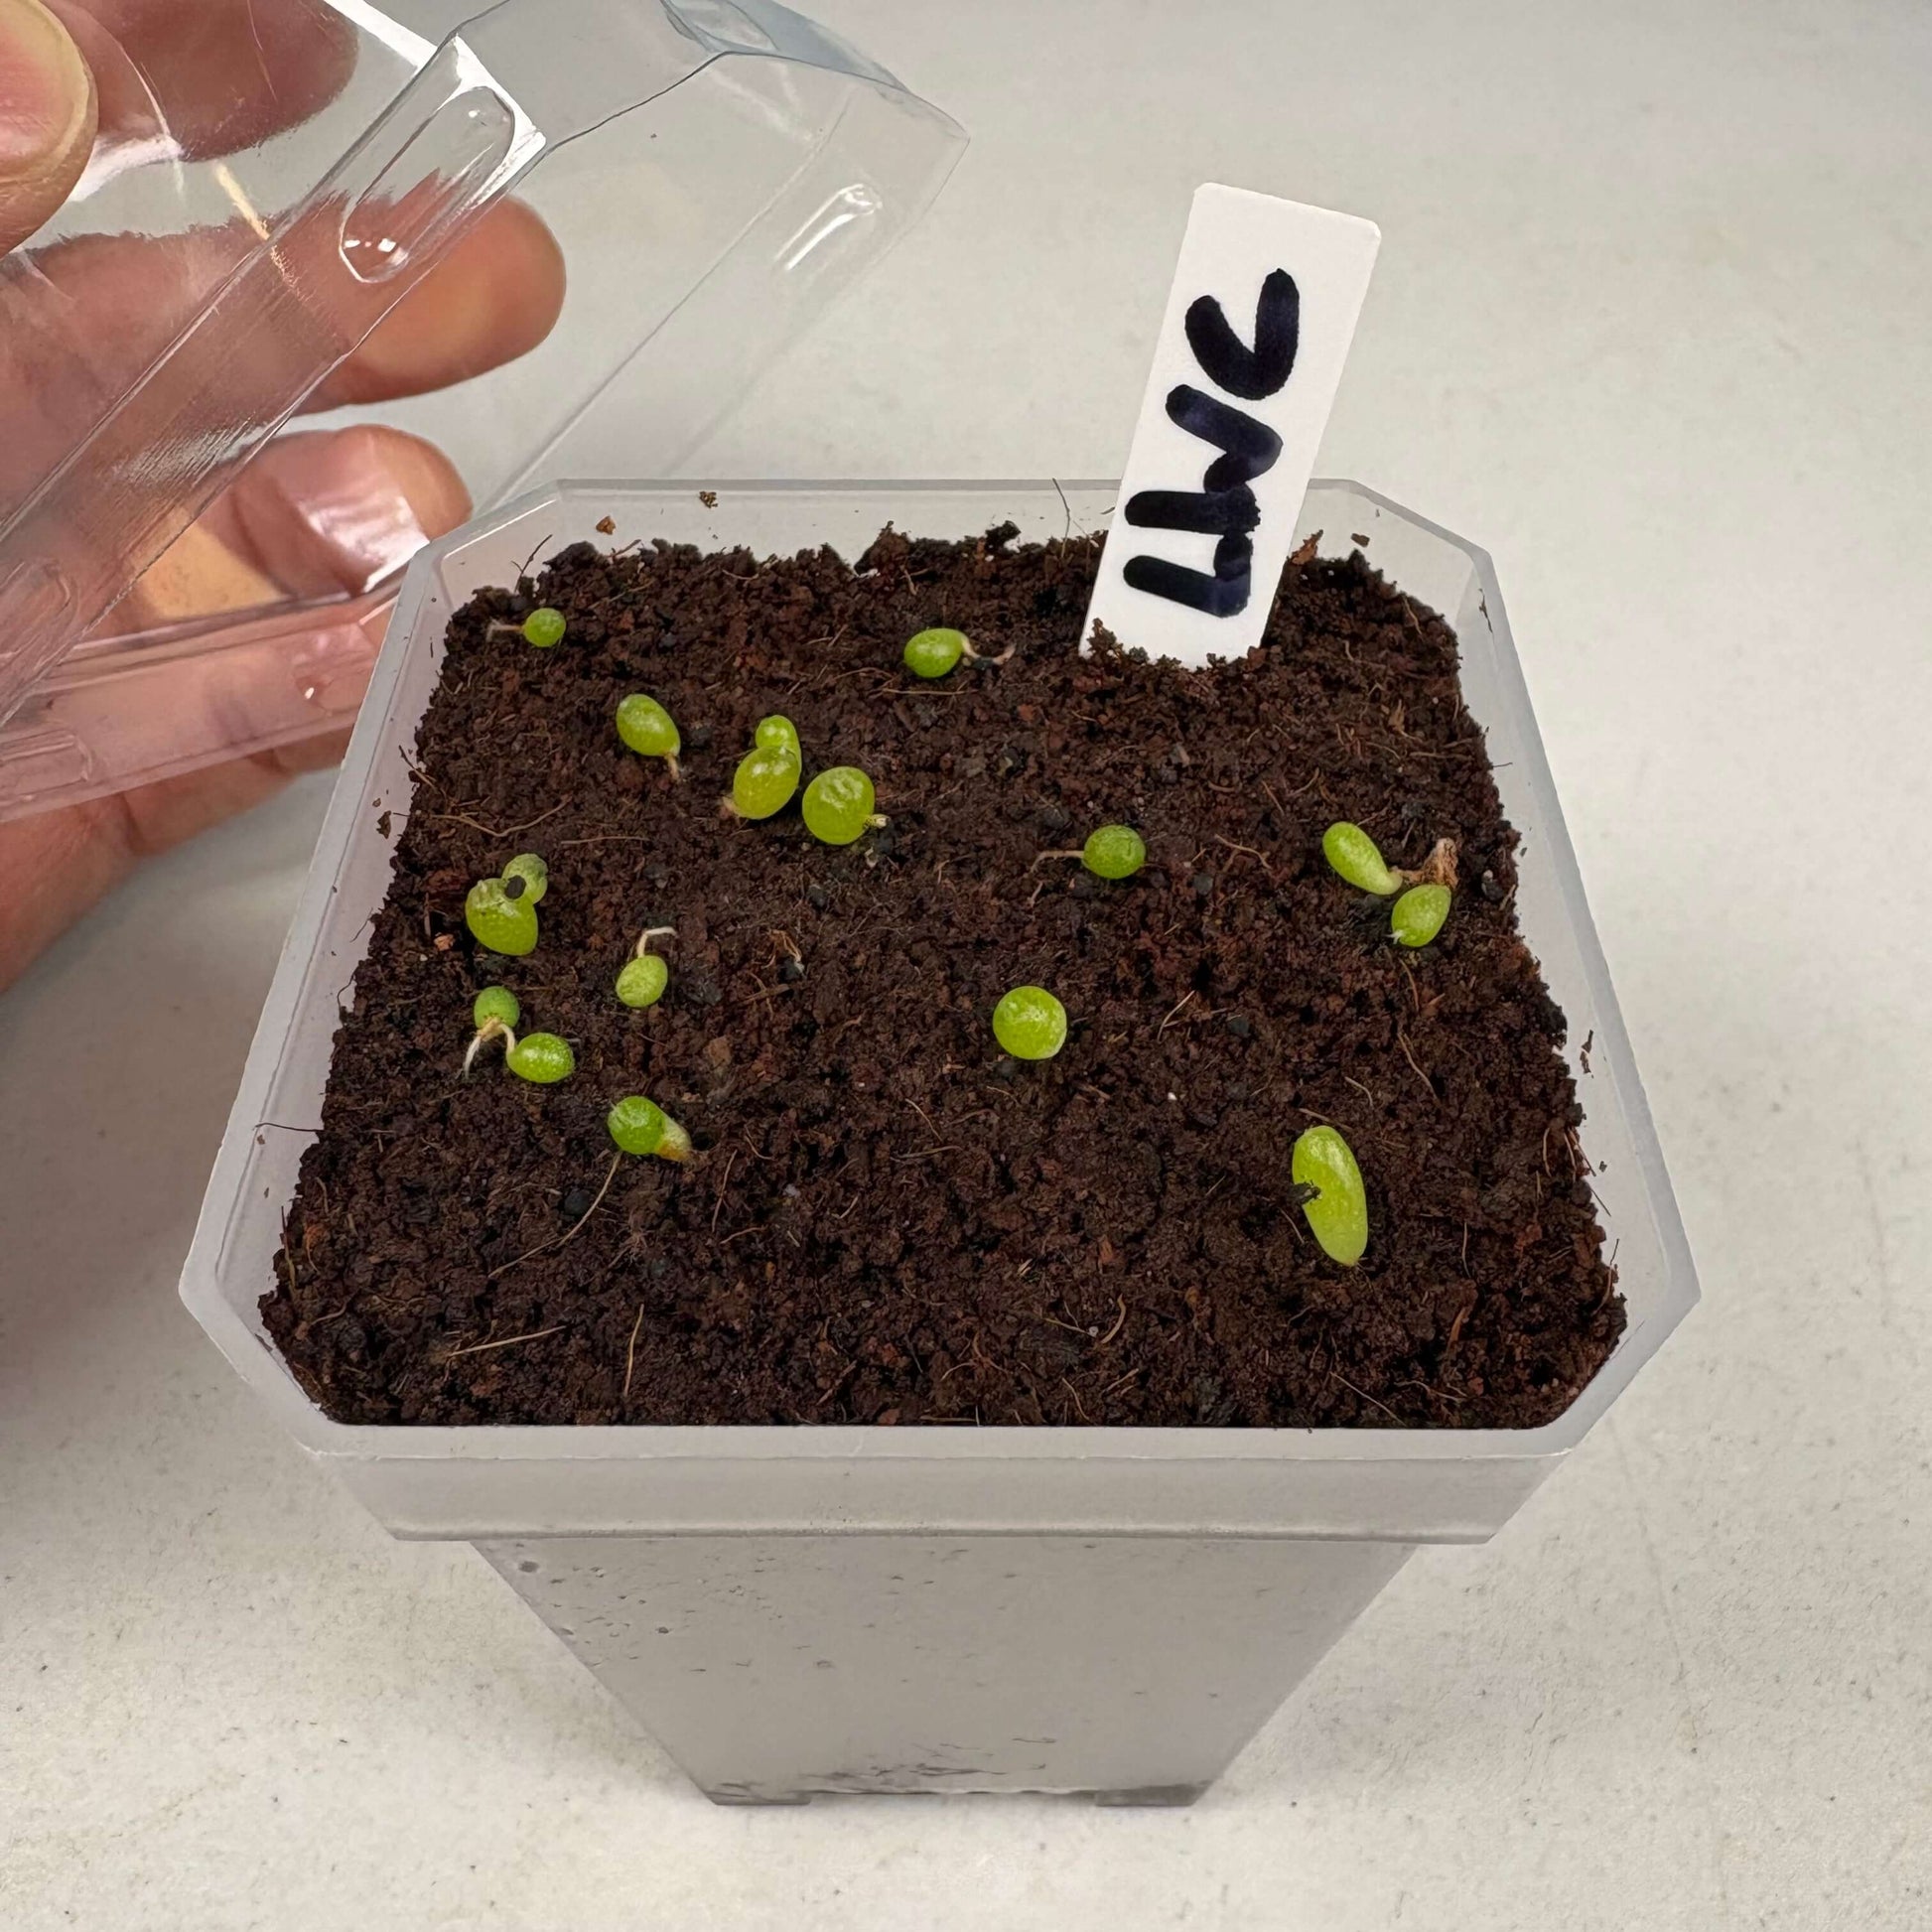
plant a seed bored button All-in-One Cactus Seed Starting Kit – Sacred ButtonsTake the guesswork out of germinating your sacred cactus seeds with our Seed Starting Kit. Designed for success and ease of use, this kit includes all the essentials to increase germination rates and grow healthy, robust seedlings. Perfect for peyote, San Pedro, and a variety of other cactus seeds. Kit Includes: Germination container Seed starting soil Plastic plant label Note: Each kit can comfortably hold up to 25 seeds. Seeds are sold separately.
Take the guesswork out of germinating your sacred cactus seeds with our Seed Starting Kit. Designed for success and ease of use, this kit includes all the essentials to increase germination rates and grow healthy, robust seedlings. Perfect for peyote, San Pedro, and a variety of other cactus seeds.
Kit Includes:
- Germination container
- Seed starting soil
- Plastic plant label
Note: Each kit can comfortably hold up to 25 seeds. Seeds are sold separately.
Instructions for Use:
To help prevent mold, algae, and other contamination during germination, we recommend sterilizing the soil before use. Here’s a quick guide:
Microwave Sterilization (Quick Method)
- Hydrate the peat pucks with spring water until fully expanded.
- Place the soil into a small microwave-safe container and cover loosely with a microwave-safe lid or plastic wrap to trap steam (don’t seal airtight).
- Microwave on high for 2–3 minutes.
- Let the soil cool completely before sowing your cactus seeds. Leave covered to retain cleanliness.
⚠️ Note: Never microwave dry peat — always hydrate first to avoid fire risk.
Sterilization also kills beneficial microbes that naturally occur in soil and can aid seedling development. While microwave sterilization is fast and easy, it may not be ideal for preserving soil life.
Oven Pasteurization (Recommended for Best Results)
- Hydrate the peat pucks with spring water until fully expanded.
- Place it in a small oven-safe container (like a glass or ceramic dish) and cover tightly with foil.
- Bake in the oven at 180–200°F (82–93°C) for 30 minutes.
- Let it cool completely before use. Keep the container covered until ready to sow.
This gentle heat treatment kills most harmful pathogens while preserving more of the beneficial soil biology.
Now that your soil has been properly sterilized and allowed to cool overnight, it’s ready for planting. Here are the steps to follow to successfully germinate your sacred cactus seeds.
- Sow the Seeds: Before transferring the soil into your germination container, sterilize the container using 99% isopropyl alcohol. Sterilize the entire surface of the plastic cup and humidity dome inside and out. Also, sterilize your hands, a spoon and your work surface. Once everything is clean, transfer the soil to the germination container using the sterilized spoon and then gently flatten the surface of the soil. If the soil has dried out too much during sterilization, re moisten it using clean spring water. Next, sprinkle the seeds on to the surface of the soil (do not cover the seeds with soil). To help fight contamination, use a spray bottle to spray the entire surface of the soil and seeds with pure 3% Hydrogen Peroxide. This will disinfect the seeds, guarding against mold and bacteria. Cover the pot with the humidity dome and make sure that the vent is fully closed. Place in a warm (80-90°F) spot with indirect sunlight or under a grow light. Avoid direct sunlight to prevent burning the seedlings.
- Monitor Germination: Keep the container warm, using a heat mat if necessary. Seeds typically germinate within a few of days to a couple weeks. Once sprouted, the seedlings should be bright green. If they are orange or red, they are receiving too much light and need to be moved away from the light source. If they begin growing tall and skinny, move them closer to the light source.
- Post-Germination Care: Leave the seedlings in the humidity dome until they are about 1 cm in diameter. Keep the container closed to prevent mold and minimize shock. If the soil dries out, moisten it gently with spring water using a spray bottle.
- Hardening Off: Once the seedling reach 1 cm in diameter, harden them off by fully opening the vent on the top of the dome. Then after a week, remove the dome.
-
Long-Term Care: Once hardened off, the seedlings can remain in the pot and should be watered once the soil is completely dry. Fertilize with Schultz Liquid Cactus Food at half strength with every watering. Transplant when the seedlings start competing for space.
Fighting Contamination:
- Green algae is common and not harmful to the seedlings. If the soil becomes contaminated with bacteria, fungus, or mold, use a spray bottle to mist the affected areas with a 50/50 mix of spring water and 3% hydrogen peroxide. If the issue persists or becomes worse, you may need to harden the seedlings off early and allow the soil to dry completely. This will kill off any contaminations. Just make sure to water as soon as the soil is dry so the seedlings do not dry out. Keep allowing the soil to dry between waterings to keep further contamination at bay.
Shipping Notes
- Free Standard Shipping on $100+ Orders to the USA.
- Except Preorder products are shipped in 48 hours.
- Delivery to the USA:
- Standard Shipping : 3-10 business days
- If time is of the essence, please consider selecting expedited delivery for faster service.
Exchange/Return Notes
- We offer a 30-day return/exchange service after receiving.
- Final sale items are not eligible for returns or exchanges.
- To process your return/exchange, please contact us at [email protected]
- Please click here for more details>>> Return & Exchange Policy